

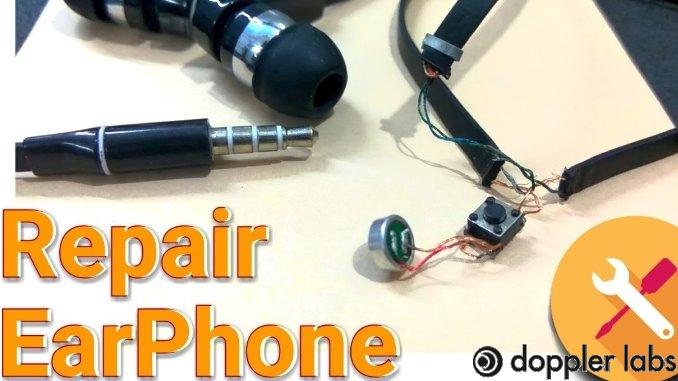
how to fix a broken headphones
How to fix broken headphones without tools? Here are step-by-step instructions for you to quickly check and follow if possible. Check it out for details!
Nowadays, almost everyone owns a headphone. It allows you to listen to music anywhere with its compact, convenient, and easy-to-carry design. However, what is the method to fix broken headphones without tools?
Headphones show up and break, and you don't have any tools next to you. However, you can still fix them yourself.
It is fortunate when there is no need to go to a repair shop. You can completely fix it yourself thanks to 2 straightforward methods.
For more detailed steps to fix headphones by typing and wiring, please follow our article. We will help you fix broken headphones without tools.
Fix broken he adphones without tools
Repair Headphones With Simple Operation
Fix a pair of headphones without tools in just three easy steps.
Step 1: Identify the error area

Identify the error area
Before starting the repair, you need to do a few things to determine the problem with the headphone area.
To determine, you need to put headphones in your ears and listen to some music. Now listen attentively to find the source of the problem.
If the headset only works on one side, there is a good chance that the other side of the headset has a short in that earbud. And in case you don't hear any sound on either side of the headphones, the cause may lie in your broken headphone jack.
Now use another headphone and try plugging it into your phone or computer. It is a test for you to make sure the headset is broken and not the headphone jack on the device.
In other words, if you use another pair of headphones and still can't play the sound, then you need to fix the headphone jack on the device, not the headphone driver.
In general, short-circuit problems often appear in the wire next to the headphone jack or your headphones themselves. Because at this position, many impacts lead to physical wear and tear.
Step 2: Twist the cord until the headset works
After pinpointing where the problem occurs, twist the wires as you please until the headphones work again. These operations are elementary; just bend and straighten the broken headphone driver cord, even tap around the damaged location a few times.
When you do so accidentally, the broken connections of the headphones will touch each other. At this time, the audio signal will be transmitted, and the headset can typically work again.
However, to accurately detect the moment the two ends of the wire touch each other, you must wear headphones while playing music.
In addition, you only need to twist the wire slowly to stop the operation at the right time. And yet, the broken wire may be near the center of the wire. This situation is very rare but not necessarily non-existent.
In such a situation, you should carefully check the entire length of the headphone cord to find the correct location.
Step 3: Stick the adhesive tape to fix it
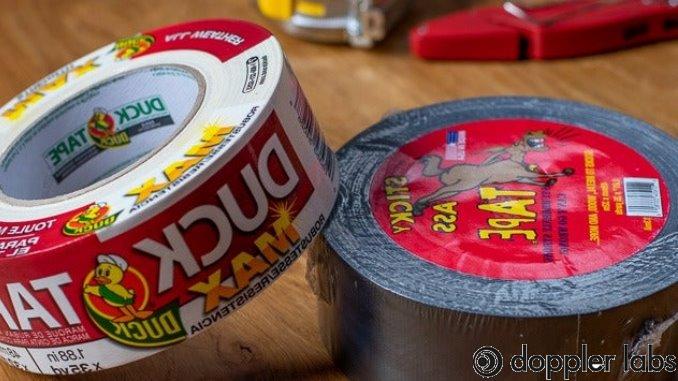
Stick the adhesive tape to fix it
The last step is to use adhesive tape to fix the two broken ends to touch each other. To do this, of course, you need to prepare a roll of adhesive tape.
With one hand, apply pressure to the area near the fault, while the other hand uses tape to secure around the headphone cord. The headphones should work correctly as long as you don't remove the duct tape and tight tape.
However, to ensure the broken headphones work for a long time, you must limit the impact and move at the sticky point.
See more:
- An Ultimate Guide On How To Bass Boost Headphones Windows 10
- Some Tips On How To Fix Bluetooth Headphones When Only One Side Works
- Best Podcasting Microphones for 2021
Reconnect Broken Headphones
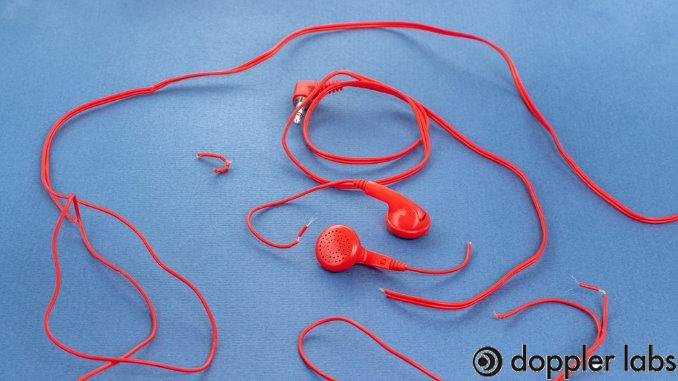
Reconnect Broken Headphones
With just four steps, you can reconnect the broken headphone cord quickly. Although the connections will make your device unsightly, this will make your headphones work well again.
Let's go through each step in the video below to make it easy for you to follow. Also, comment name email website for more details!
Step 1: Separate the cable
Like fixing headphones by typing, you need to determine exactly where the broken headphone wire is before you start wiring.
For a real find, bend each piece of wire while still wearing the headphones. Once there's some audio coming in, it's time to fix the headphone cable.
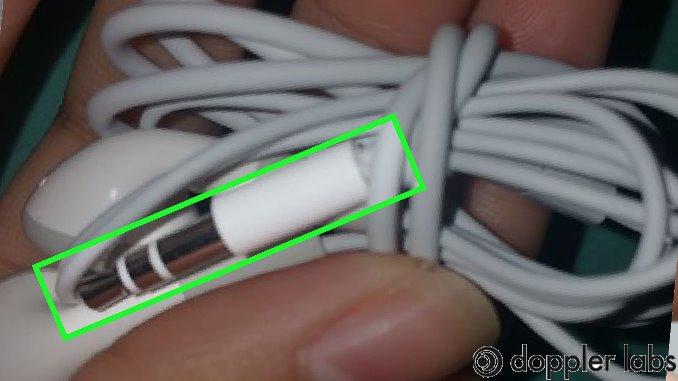
In the first step, you need to remove the insulation of the cable. Because the headphone cord is tiny, you need to pay attention to avoid breaking the internal wire.
You need the help of a wire stripper or cutter. Since most people have a knife, we will show you how to use a knife to remove the insulation.
With the knife, you run along the wire and remove the outer wire until you see where the headphone wire breaks.
Once you have split the cable in half at the location, and remove all the debris inside. Note, you need to remove the same amount of wire on both sides.
If the amount of copper wire removed is not equal, the larger the difference, the more it will affect the headphone. They will even damage your headphones.
Next, you need to slide a narrow rubber hose into the wire. This rubber hose is similar to the rest of the cable, and it will be available to protect the connector.
Step 2: Connect the wire

Connect the wire
Once you've finished separating the cables, the next step is to wire them up. They are inherently broken wires together, and for the headphones to work again, you have to connect them.
When connecting, you need to make sure that the wires of the same color are connected, or else even if you complete the connection, there will be no signal.
When there is no tool, straighten each type of wire core's copper core (if any), then twist the two sides of the broken part with the corresponding copper core together.
Specifically, when connecting wires, you will perform the following operations.
The first is to straighten the wire to be connected with the same color, put them diagonally into an X shape. Then proceed to twist them together tightly and apply the same to the remaining ends.
Step 3: Check to make sure the headphone is working
After you have finished, check whether the output audio signal is available. Once the test is completed, and the requirements are met, proceed to the final step.
Step 4: Stick the electrical tape or use a heat pipe
In this step, you can use an iron to solder the connectors together. But in case you do not have a soldering iron, you can skip it. Just make sure you wrap the cord tightly, so it doesn't come off during use.
If you have a soldering iron, we recommend it to keep the welds cooler.
Usually, these wires together are also with an insulating coating for protection.
So before soldering, you need to make sure to burn off this coating by using a soldering iron. To perform the next operation, you need to wait for the joints to cool completely.
With that said, not everyone has a soldering iron, so you can skip this step and start gluing or use a heat pipe to finish the wiring.
Because when wiring, even if you solder the new ends, it will only give us a temporary connection.
Now you need the threaded rubber clamp. These tubes do not degrade the signal quality, but moreover, it makes your wire stronger than ever.
You just put the rubber clamp to the cover into the weld joint. Then use a heat torch to tighten and fix the welds together. If you don't have a torch, you can use a lighter instead.
In addition to using rubber clips, choosing electrical tape is not a bad idea. It saves you money and ensures the efficiency and aesthetics of the headphone after connecting the broken headphone wire.
Consider Buying New Headphones

Consider Buying New Headphones
If you have applied the above two methods and still do not see results, we think it is time to replace them. Fortunately, the cost of a headphone is relatively cheap, and you can easily buy it at the store.
And in case you still want to repair your wired headphones, try to find a technician or a professional maintenance specialist.
Tips To Prolong The Life Of Your Headphones
Proper use of wired headphones not only helps you preserve and increase the life of your headphones but also protects your health.
Keep your headphones tangle-free
Keep your headphones tangle-free
In fact, many people have the habit of curling their headphones after using them. As soon as they pull out the headphone jack, they immediately put the headset in their pocket, briefcase.
Because of this habit, you will encounter many problems the next time you use headphones. You will have to spend a lot of time and effort to remove them because your headphones are messed up.
Not only that, after using headphones and you accidentally throw them into your bag, the bag also has other heavy objects on it such as laptops, books, notebooks, etc. It causes the headphones to appear in broken underground circuits.
Therefore, it is best to limit this situation by using a headset scroll bar and a convenient carrying case. You need to gently wrap the earphone cord on that roll bar and tuck it away in a separate compartment or a small and well-fitting case/bag.
In addition, you can also save more by rolling the headset in the usual way, then using a lanyard.
Clean headphones regularly
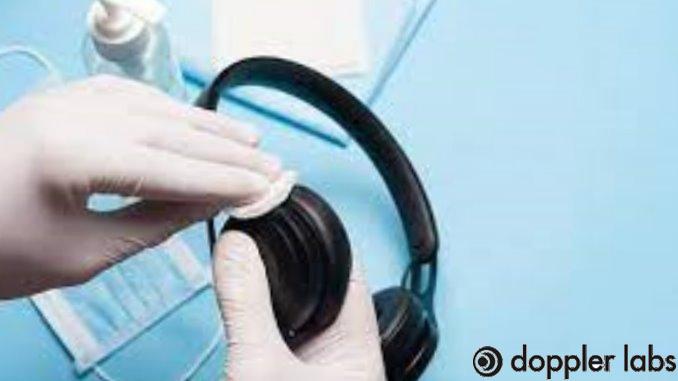
Clean headphones regularly
The dirt that accumulates for a long time will affect your sound quality. It even damages your headphones. Therefore, regular cleaning of headphones is essential.
Removing dirt not only preserves and prolongs the life of the headphones but also ensures the safety of your ears because the hiding place and breeding of bacteria species will affect the health of your ears.
To clean the headphones, use a dry cloth or cotton swab to remove dirt. And be careful not to use wet wipes for cleaning.
Avoid letting the headphones come into contact with water

Avoid letting the headphones come into contact with water
When the headphones come into contact with water, by all means, dry them thoroughly, especially immediately cleaning up all the water in the diaphragm so that the headphones are not cracked and damaged later.
If you have a habit of listening to music when you exercise, use headphones properly, don't let them get wet and sweaty. It is very simple, and you just need to clean the headphones thoroughly after finishing the practice.
Another solution for you is to add a rubber pad to the earpiece diaphragm. It has the effect of limiting sweat to penetrate the diaphragm during exercise hours.
Do not pull the headset by the cord
Many naughty teen boys and girls also conveniently take headphones as objects to throw or play. Or they try to get into the habit of stretching the headphones, rubbing the headphones when using.
Although these are all unintentional actions, it has inadvertently affected the headphone wiring, possibly causing the headphones to break underground or even completely.
FAQs
How long can I use the headset?
Scientists have proven: When you wear headphones continuously for more than 1 hour, the amount of bacteria in the headset increases 700 times.
So you should limit wearing headphones for too long and continuously to avoid bad effects on health. In general, to protect your hearing and health, you should not use headphones for more than 2 hours/day.
How often should the headphones be cleaned?
A headset can contain a lot of dirt and sweat after using it for a while. To keep your headphones clean, you should regularly clean your headphones, preferably once a month.
Is it good to wear headphones when going to bed?
The answer is No. You don't wear headphones when going to bed.
Listening to music at bedtime is a habit of many people. Especially young people today think that listening to music will help improve sleep and make it easier to fall asleep. However, wearing headphones all night is not good.
It makes your ears have to work continuously while working too many hours a day. If you continue to work all night, your ears will quickly age, resulting in tinnitus symptoms.
Conclusion
After reading the article, you know how to repair headphones without tools. You may find it difficult at first. We are sure you will find it very simple.
So, when the headphone has a problem, could you not rush to throw it away? Try fixing them instead of buying new ones. You will save a bit of money.
Thank you for reading!
HerePlus
how to fix a broken headphones
Source: https://hereplus.me/fix-broken-headphones-without-tools/
Posted by: fowlerfortall.blogspot.com
0 Response to "how to fix a broken headphones"
Post a Comment